4.4. Users
4.4.1. User List
After a tap on the Users button in the main menu this panel is shown. See Menu.
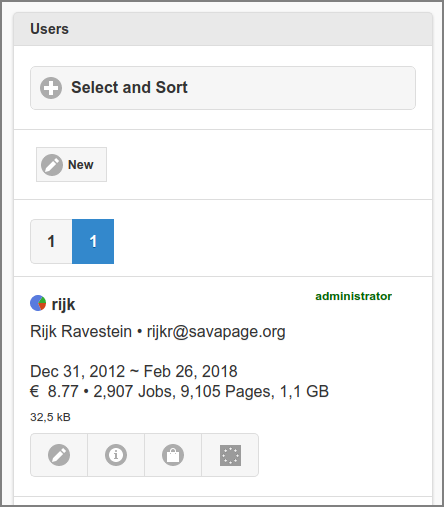
Admin Web App: User - List
All non-deleted users are listed alphabetically by default. A different selection and sorting can be entered: see Admin Web App: User - Select and Sort.
Press the New button to create and edit a new Internal User. Note: the button is not visible if System Status says Setup is needed.
The list can be traversed by tapping one of the buttons at the pager at the top or bottom of the page.
An entry is displayed for each user, with identifying data and some usage statistics. From top to bottom:
The user’s role or status (at the top right corner).
An inline pagometer Pie-Chart followed by the user id. The blue color in the chart represents the number of pages printed to SavaPage. The green color represents the number of pages exported to PDF. The red color depicts the pages printed to Proxy Printers.
The user id of an Internal User is shown with an orange color.
The full name and email address. A key icon is shown if a PGP Public Key ID is present. See User List Item.
If applicable, the User Name Aliases the user is known by.
The period in which user activity was accumulated on the pagometer.
The account balance and the pagometer including the number of jobs and bytes printed to any SavaPage Queue.
The size of the user’s SafePages home.
More user details are discussed in User List Item.
Tap the Edit button to change or delete the user. See Edit User.
Note
Deleted Users cannot be edited.
The Documents button brings you to the list of documents the user processed. See Admin Web App: Document - List.
The Transactions button brings you to the list of financial transactions on the user’s account. For a detailed description of this list see Transactions in the User Web App chapter.
The rightmost GDPR button opens a pop-up where personal user data can be downloaded. See Download Personal Data.
Note
Buttons are not visible if System Status says Setup is needed. If setup is not needed, certain buttons might not be visible due to Admin Privileges.
Tip
The pagometers of all users can be reset at Options > Advanced > Reset Pagometers.
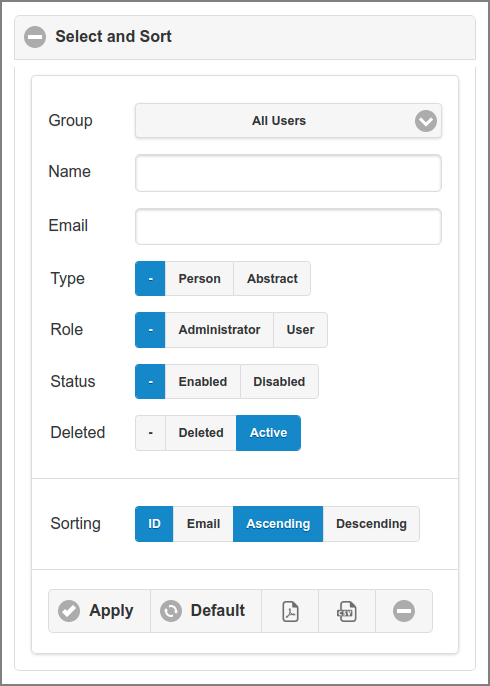
Admin Web App: User - Select and Sort
Users can be selected by Group and by entering a part (fragment) of their (display) Name or Email. So entering “son” as ID will select both “jason” and “sonja”.
Select the Type, Role and (Deleted) Status. The – button will select both option values.
If Self Registration is enabled, Registration Requests can be selected. The status of the verification (Pending or Expired) is shown in the User List. See Registration Requests.

Admin Web App: User - Select Registration Requests
The list can be sorted Ascending or Descending by Name ID or Email.
Tap the Apply button to (re)display the list.
A tap on the Default button resets the selection and sort fields to their default values.
The PDF and CSV buttons downloads the User List in their respective formats, using the selection item values.
The minus icon collapses the Select and Sort section.
4.4.1.1. User List Item
Each Users List Item displays the resolved number of enabled and disabled User Roles, Group Roles, User Privileges and Admin Privileges objects with their respective icon. User Roles are displayed next to the User ID. Objects that are resolved by User Group membership are shown below. A green color means that the objects are enabled, a red color means they are disabled. A description of the objects is displayed as a tooltip when pointed to with the mouse. An example item is shown below.
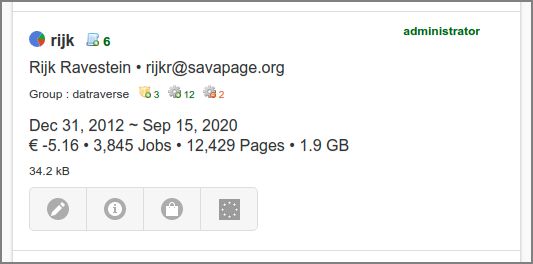
Admin Web App: User - List Item

Admin Web App: User - List Item - PGP Key
A key icon is shown at the email address if a PGP Public Key ID is present.
If PaperCut Personal User Account is enabled, the account balance of both PaperCut and SavaPage is displayed with their respective icons, as shown in the screenshot below:

Admin Web App: User - PaperCut Account Balance
4.4.2. Download Personal Data
This pop-up opens when the rightmost GDPR button is pressed in an entry from the User List.
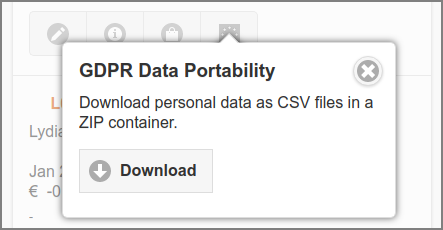
Admin Web App: User Data Portability
See Data Portability.
4.4.3. Erased Users
Erased Users have their personal data cleared. Since their ID is empty, an “anonymous” placeholder with date/time of erasure is used for display.
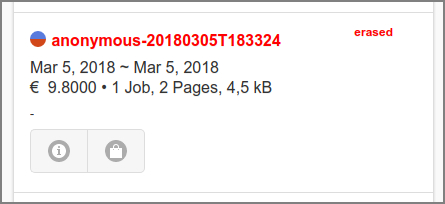
Admin Web App: Erased User
See Data Erasure.
4.4.4. Registration Requests
Self Registration Requests for users that have not yet been verified are identied with Pending or Expired. Requests can be selected in the Select and Sort section.
4.4.5. Edit User
This chapter describes the editable sections of the User entity.
Caution
Some data you edit, like the Name, Primary email, Card Number and ID Number might be overwritten by values from the user source during synchronization. See LDAP and User Creation.
Note
Users can also be edited and deleted with the Server Command Tool. See setUserProperties and deleteUser.
4.4.5.1. Identity
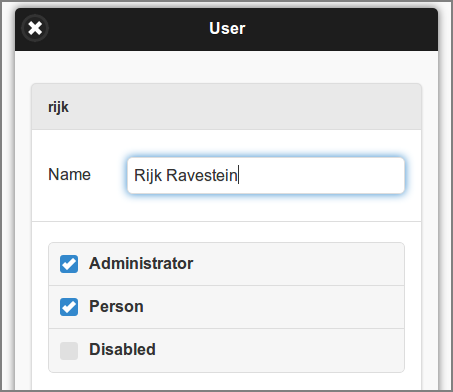
Admin Web App: Edit External User - Identity
The user’s full Name can be edited. Remember this name can be overwritten for an external User as a result of user synchronisation. See User Creation.
Assign the Administrator role by ticking the checkbox.
Users are regarded as Person by default. Un-tick the Person checkbox if this user represents a generic functional account. This will make the user Abstract.
Tick the Disabled checkbox to deny the user access to the SavaPage application.
Warning
When a User becomes Abstract its SafePages are removed.
4.4.5.2. User Roles
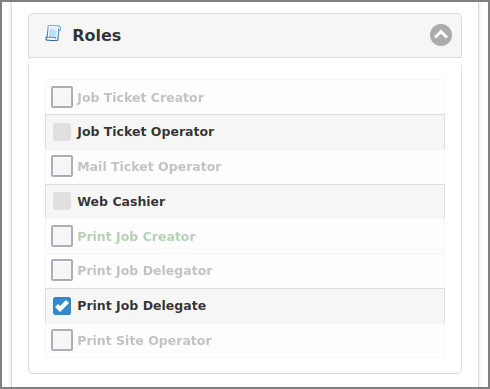
Admin Web App: Edit User - Roles
User Roles are needed to access certain application objects, as shown in the table below.
Role |
Access |
|---|---|
Job Ticket Creator |
|
Job Ticket Operator |
|
Mail Ticket Operator |
|
Web Cashier |
|
Print Job Creator |
A Proxy Printer that is not a Job Ticket Printer |
Print Job Delegate |
Delegated Print and Users and Groups with role “Print Job Delegator” for Delegated Print. |
Print Job Delegator |
This is a passive role. Delegators can be accessed by users with role “Print Job Delegate”. |
Print Site Operator |
Each role is set with a checkbox that has three states:
Checked : The role is enabled.
Unchecked : The role is disabled.
Unchecked and grayed out: The role is indeterminate.
If a User Role is needed to access an application function, SavaPage will check if this role is enabled for the authenticated user.
When the role is indeterminate at the user level, Group Roles are checked of the groups the user belongs to. Added Groups are checked first, then the Built-in Groups, with the “All Users” group as last.
Access is granted if there is at least one group where the role is enabled.
Access is denied when the role is indeterminate or disabled in all groups.
Print Job Creator role is special: an indeterminate state at “All User” top level is interpreted as granted.
Note
A summary of enabled/disabled roles is displayed in the User List Item.
Caution
The 3-tier group hierarchy (User Groups > Internal/External Users > All Users) is traversed bottom up, to resolve the role of individual Users only. Group hierarchy is not used to resolve roles for User Groups: roles defined at group level are fixed, and are not interpreted in the context of other groups, or individual members.
4.4.5.3. Email
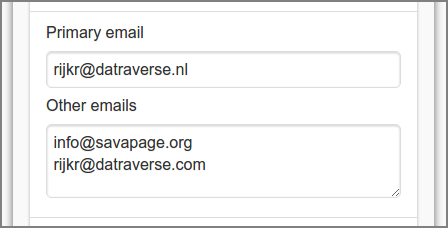
Admin Web App: Edit User - Email
The Primary email and Other emails addresses are editable and must each be unique: they can be associated to just one User. Multiple emails must be separated by any of the characters space, comma, semicolon, or by carriage return or line feed.
When saving, all email addresses are converted to lowercase.
4.4.5.4. Card, Yubikey
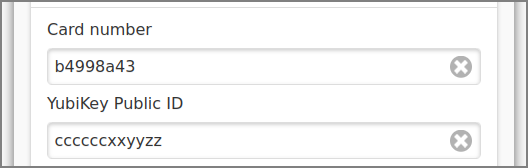
Admin Web App: Edit User - Card, Yubikey
The Card Number must be unique: it can be associated to just one User. It must be entered in HEX/LSB format. See Card Number Format. Card Number is used for Web App Login.
The YubiKey Public ID is used for YubiKey Authentication.
4.4.5.5. ID number
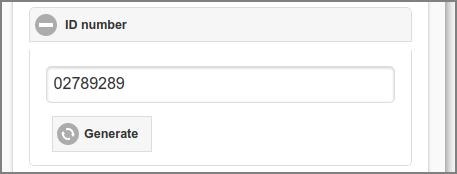
Admin Web App: Edit User - ID number
ID Number must be unique: it can be associated to just one User. It is automatically generated when a user successfully logs in for the first time. The number can be re-generated by pushing the Generate button. The number is used for Web App Login and as authentication token for Internet Print.
The following configuration properties apply:
Configuration property |
Description |
|---|---|
user.id-number-length-min |
The minimum length of User ID number (manual entry) Default: |
user.id-number-generate.enable |
Set to automatic generation of User ID number. |
user.id-number-generate.length |
Length of generated User ID number. Minimal value: |
See Config Editor on how to change these values.
4.4.5.6. UUID
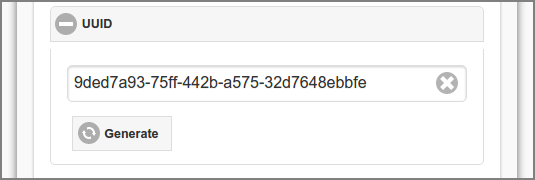
Admin Web App: Edit User - UUID
The UUID [4] is used as authentication token for Internet Print and RESTful Web Services. It is automatically created when a user successfully logs in for the first time. A new UUID can be created by pushing the Generate button.
Note
Users can replace their own UUID. See Internet Printer.
4.4.5.7. OpenPGP
In this section the OpenPGP Public Key ID of the user can be entered. This key will be used to encrypt email send to the user. The Search and Check buttons are shown when the OpenPGP key server URL is configured. They open a tab to the key server, where public keys can be searched and checked (verified). See OpenPGP Settings.
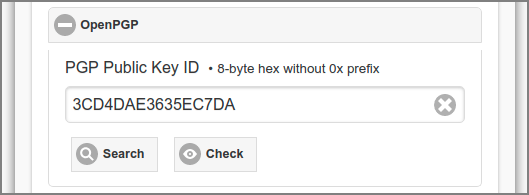
Admin Web App: Edit User - OpenPGP
4.4.5.8. Financial
This section shows the personal User Account. Initialization of this account is based on Group Membership as explained in the Edit Group section.
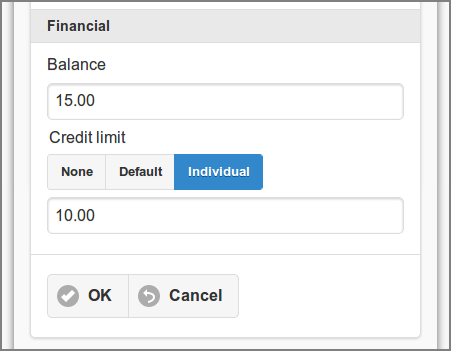
Admin Web App: Edit User - Financial
A new value for the user’s account Balance results in a financial transaction that corrects the previous account balance. See Transactions. Users are notified by a pop-up message in their active User Web App when their balance is adapted.
Set the Credit limit with one of these buttons:
None : user has no credit limit, and is not restricted.
Default : user has default credit limit. See General Financial Options.
Individual : when selected a custom credit limit can be entered.
4.4.5.9. PIN
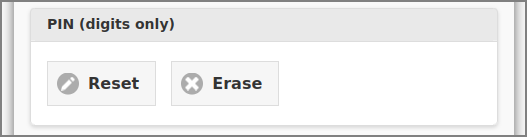
Admin Web App: Internal User - PIN Actions
A tap on the Reset button shows the PIN Reset Dialog. The Erase button is shown when a Config Editor is set. When pressed, it erases the Config Editor and makes itself disappear again. Use this dialog to initially set or change the value.
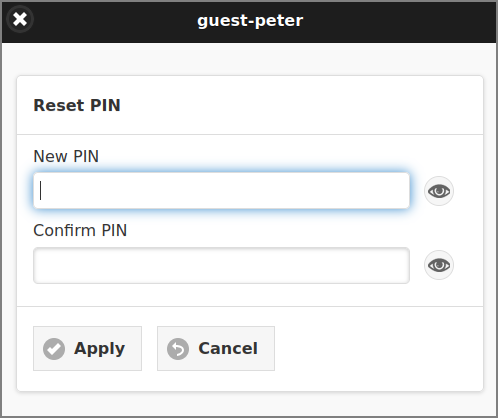
Admin Web App: Internal User - PIN Reset
The PIN must be digits only. The minimum and maximum length of
a PIN are contained in the configuration keys user.pin-length-min
and user.pin-length-max. A maximum value 0 (zero) indicates the
maximum is unspecified. Use the 👁 button on the right side
of the entry fields to show/hide the PIN.
See Config Editor on how to change these values.
4.4.5.10. Password
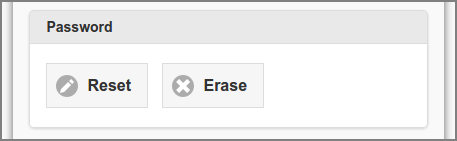
Admin Web App: Internal User - Password Actions
For an Internal User Password actions are shown.
The Erase button is shown when a password is set. When pressed, it erases the password and makes itself disappear again. Without an initial password, users cannot reset their password in the User Web App. This gives administrators a means to disable login by user name/password, in favor of other authentication methods.
A tap on the Reset button shows the Password Reset Dialog. This dialog is also used to initially set or change a password. Use the 👁 button on the right side of the entry fields show/hide the password.
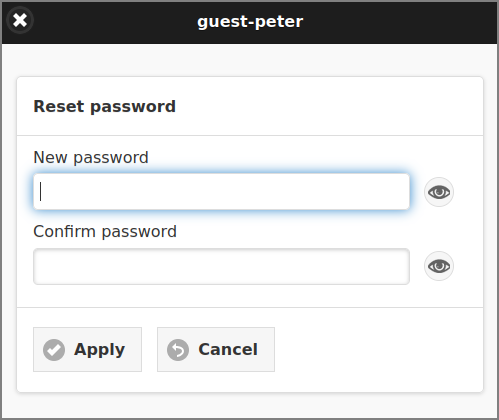
Admin Web App: Internal User - Password Reset
4.4.5.11. User Delete
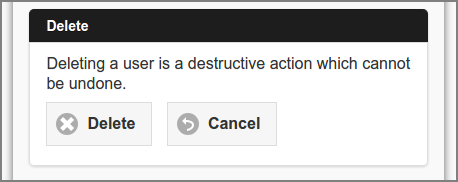
Admin Web App: Edit User - Delete
Press the Delete button to delete the user and return to the User List. The next section describes the effect of this action.
The Cancel button bring you back to the User List without changing anything.
4.4.6. Create Internal User
A tap on the New … button at the top of the User List gives this dialog to create a new Internal User. Apart from the regular User data, the attributes ID, PIN and Password can be entered.
The prefix of ID is contained in the configuration key
internal-users.username-prefix.The PIN must be digits only. The minimum and maximum length of a PIN are contained in the configuration keys
user.pin-length-minanduser.pin-length-max. A maximum value0(zero) indicates the maximum is unspecified.The minimum length of the Password is contained in the configuration key
internal-users.password-length-min.See Config Editor on how to change these configuration values.
The Financial data are initialized with the New User Settings of the Built-in Internal Users Group. If these new user settings are disabled the Balance is set to zero with an Individual Credit limit of zero.
Note
Internal Users can also be created by Self Registration.
Tip
Internal Users can also be added with the Server Command Tool. See addInternalUser.
4.4.7. Deleted Users
Deleting a User makes sense if they are not part of the user source anymore and they were not deleted as part of a bulk delete during a manual synchronization. As long as job history or account transactions for a User are present [5] , SavaPage applies a logical delete. Any logical deleted User will be physically deleted from the database when no related job history and account transactions are present anymore. This situation will automatically occur when you enabled automatic backup in combination with the delete of old document and transaction logs.
Important
If SavaPage synchronizes a new User from the user source, a new user instance will be created in the database, despite the fact that a logical deleted User exists with the same identifying name, i.e. the logical delete status of the “identical” user will remain as it is.
4.4.8. Administrator Role
SavaPage sets up a dedicated account called admin. This is the
master administrator account, with access to all application functions,
whose password is assigned during configuration. In large organizations
it is likely that the administrator role needs to be granted to more
than one person. One solution is to give all those persons the master
password; however a better approach is to assign the administrator role
to the network user accounts of these individual’s. The advantages of
this approach are:
Administrators can access the Admin Web App with their own username and password.
Since most administrative activity is logged in an audit trace, changes can easily be tracked back to an individual.
Note
Access to certain parts of the Admin Web App can be set on User Group level with Admin Privileges.
Tip
Administrative users should login via https://savapage:8632/admin
rather than https://savapage:8632/ or https://:savapage:8632/user
so that they are directed to the right interface.