4.12. Documents
4.12.1. Introduction
This section is shown after:
A tap on the Documents button in the Main Menu.
All processed documents are shown.
A tap on the Log button in the User List.
All documents processed by the selected user are shown. The user’s name is shown in the header and the Select and Sort is within the scope of this user.
A tap on the Log button in the Queues List.
The Select and Sort is initialized with, and applied for the selected Queue.
A tap on the Log button in the Proxy Printers List.
The Select and Sort is initialized with, and applied for the selected Proxy Printer.
4.12.2. Document List
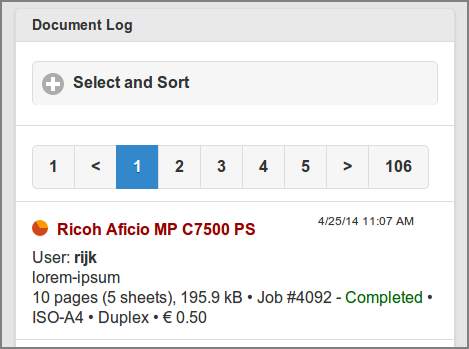
Admin Web App: Document - List
The list can be traversed by tapping one of the buttons at the pager at the top or bottom of the page.
Some samples of other entries…
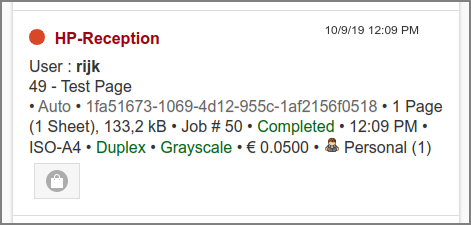
Admin Web App: Document - IPP Routing
A Proxy Print as a result of IPP_Routing. The entry is marked as “Auto” (automatic) with QR code “1fa51673…” delivered by an IPP_Routing Plug-in.
The button at the bottom opens a pop-up with financial details.
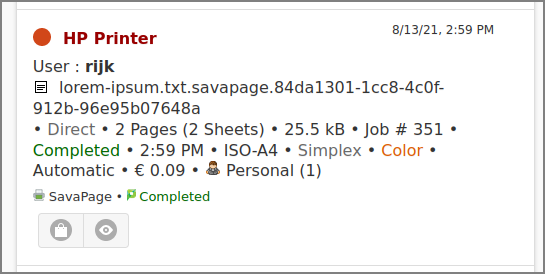
Admin Web App: Document - Proxy Print PaperCut Costs
A Proxy Print to a PaperCut managed printer where PaperCut Printer Costs were leading.
The left button at the bottom opens a pop-up with financial details, the right button downloads the Print Journal.
Note the SavaPage (print supplier) and PaperCut (third-party print manager) icons just above the buttons.
For a sample screenshot of the financial transaction, see User Web App: Log - Proxy Print PaperCut Transaction.
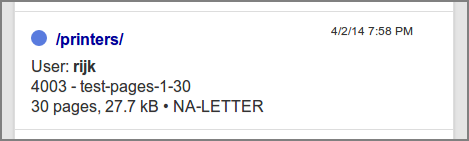
Admin Web App: Documents - Print-in - Default
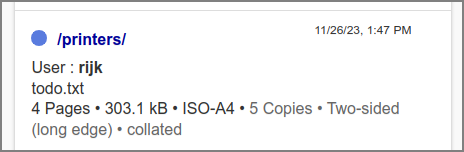
Admin Web App: Documents - Print-in - IPP Options
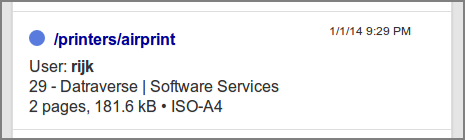
Admin Web App: Documents - Print-in - AirPrint
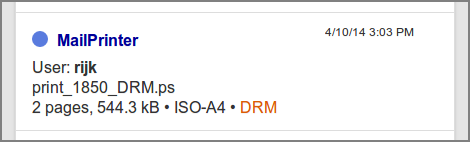
Admin Web App: Documents - Print-in - Mail
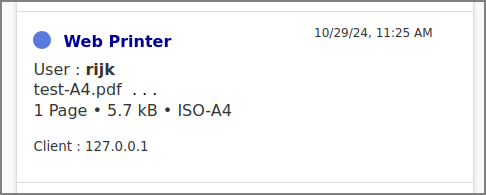
Admin Web App: Documents - Print-in - Web
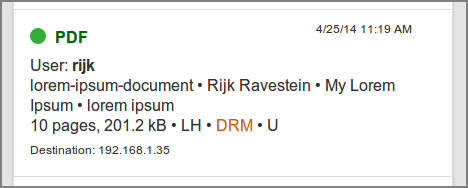
Admin Web App: Documents - PDF out
Each document is displayed with data depending on its input source (SavaPage Print Queue) or output target (PDF export, Proxy Printer print). From top to bottom:
The creation date at the top right corner.
Source or destination, shown in a color depending on its type.
A SavaPage Queue, like “/printers/”, is displayed in blue (when RAW printed to the default Queue the word “Printer” is displayed, Driverless File Transfer Print shows “Web Printer” or “Mail Printer”).
A PDF is shown in green.
A Proxy Printer, like “Ricoh Aficio MP C7500”, is displayed in red prefixed with an inline pagometer Pie-Chart. The red color in the chart represents the number of pages in the job. The orange color represents the number of printed sheets.
User: the user id as creator of the document.
The document name, with optionally (PDF export) the PDF author name, subject and keywords.
In case of a Proxy Print Job, icons
 or
or  indicate the presence of a Print Archive or Print Journal.
Pressing the 👁 button at the bottom of the document entry will
download the printed PDF. See Document
Store.
indicate the presence of a Print Archive or Print Journal.
Pressing the 👁 button at the bottom of the document entry will
download the printed PDF. See Document
Store.In case of a Print-in Job the
icon indicates the
presence of a Queue Journal. Depending on User
Privileges,
action buttons are displayed at the bottom of the document entry.
Pressing the 👁 button will download and pressing the
⨯ button will delete the journaled PDF. Also see
Queue Journal.If Inherit IPP options from print-in document is enabled for Fast Print Mode the IPP Options from PostScript Driver Print-in are displayed.
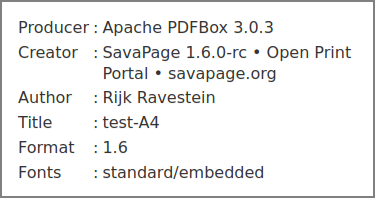
If a PDF was uploaded at “Web Printer” the document name is appended with … , a click on the dots shows the properties of the uploaded file. For example:
The number of pages and size (bytes). With optionally…
The CUPS Job number (Proxy Printer only).
The CUPS printing status: Pending, Held, Processing, Stopped, Canceled, Aborted, Completed (Proxy Printer only).
The paper size, like “ISO-A4” (Queue and Proxy Printer only).
“LH” indicator in case a letterhead was applied (Proxy Printer and PDF only).
“Duplex” indicator (Proxy Printer only).
“DRM” indicator when exported PDF was encrypted (PDF only), or printed document was an encrypted PDF. (Queue only).
“Denied” indicator when printed document was an encrypted PDF and such printing is not permitted (Queue only). See Printing Encrypted PDF.
Owner (“O”) and User (“U”) password indicators (PDF only).
Destination (PDF only). The client IP address (PDF Download) or the recipient email address (Send PDF)
An gear icon with text “Web Service” in case a RESTful Print Service printed to a Queue other than the reserved
/webservicequeue.
Tap the Select and Sort button to expand the section, and select a document Type :
Option – selects all document types: more …
Option In selects documents printed to a SavaPage Queue: more …
Option Out selects documents printed to a Proxy Printer or exported to PDF: more …
Option PDF selects documents exported to PDF: more …
Option Print selects documents printed to a Proxy Printer: more …
Depending on the selected Type, selection and sort options are shown or hidden. However, there are common selections for all document types as discussed at the screenshot below.
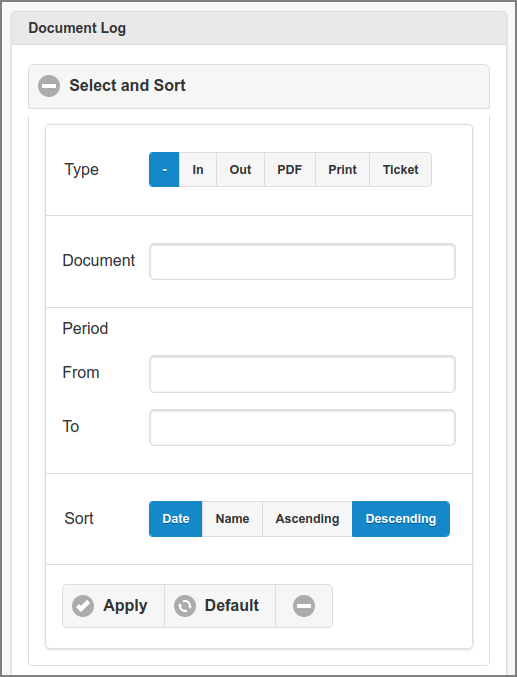
Admin Web App: Documents - Select and Sort - All
Select a Document by entering a part (fragment) of its name.
Select a creation Period by entering a From and To date. Tap the x button after a date to clear it. See this example Data Selection Dialog.
Documents can sorted Ascending or Descending by creation Date or Name.
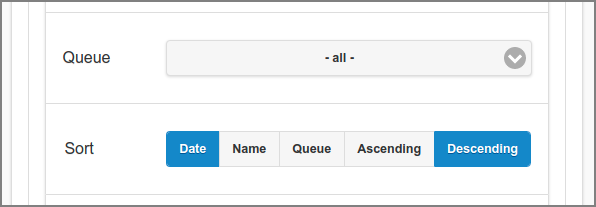
Admin Web App: Documents - Select and Sort - In
As an extra to the common options, the In Type offers:
A selection on Queue
A Sort on Queue
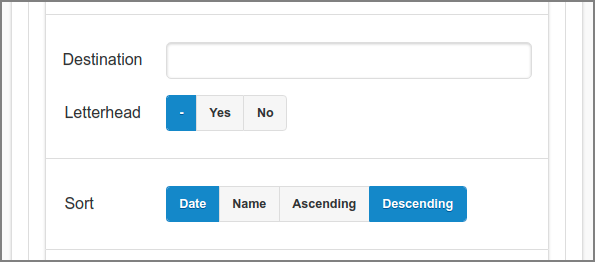
Admin Web App: Documents - Select and Sort - Out
As an extra to the common options, the Out Type offers:
A selection on Destination
A selection on Letterhead
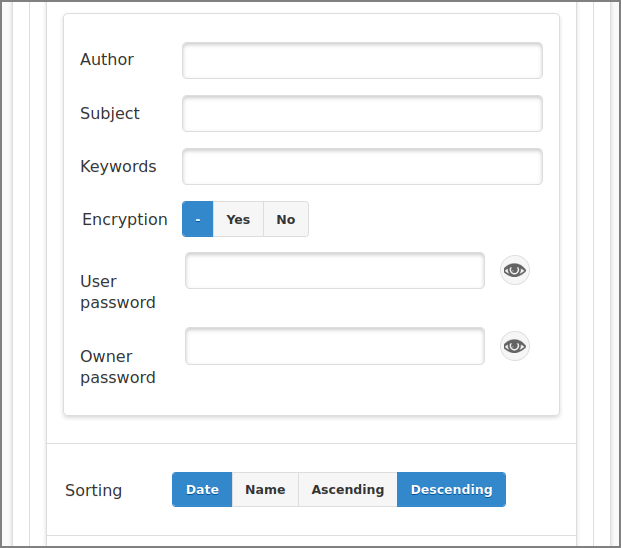
Admin Web App: Documents - Select and Sort - PDF
As an extra to the Out options, the PDF Type offers:
A selection on Author
A selection on Subject
A selection on Keywords
A selection on Encryption
A selection on User password and Owner password
Use the 👁 button on the right side of these entry fields to show/hide the password.
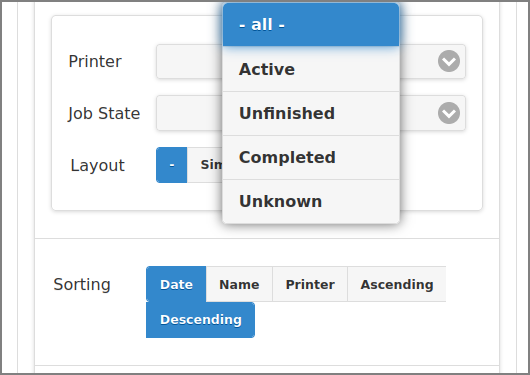
Admin Web App: Documents - Select and Sort - Print
As an extra to the Out options, the Print Type offers:
A selection on Printer
A selection on Job State
Status Unknown is explained in CUPS Job ID.
A selection on Layout: Simplex or Duplex.
A Sort on Printer
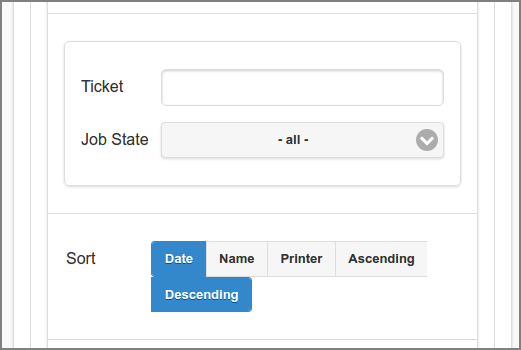
Admin Web App: Documents - Select and Sort - Ticket
The Ticket Type shows a slightly changed version of the Print Type options:
A selection on Ticket is added (at the expense of the Printer selection). You can enter any part of a Ticket Number.
Selection on Layout is dropped.
4.12.3. Proxy Print Reversal
For a Proxy Print that is Canceled or Aborted a reverse button (at the right) is available in the document item to adapt counters and refund accounts charged. The button is available for administrators with Editor permission for Accounts. In case of a Job Ticket print the button is disabled as long as the Job Ticket is Open (its Close button is not pressed yet).
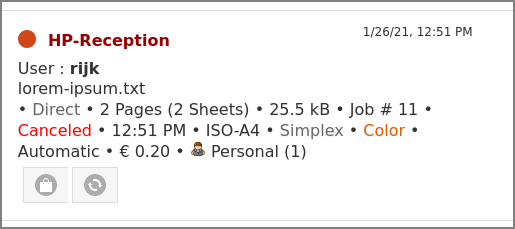
After the refund it looks like this:
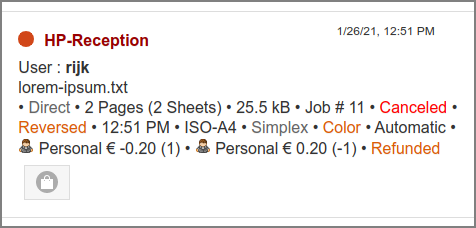
See Proxy Print Costs.
4.12.4. Proxy Print Status
For an Active or Unknown Proxy Print, buttons are available to simulate a Cancel or Complete of a print job whose status is not automatically updated due to a duplicate CUPS Job ID. See CUPS Job ID Duplicates.
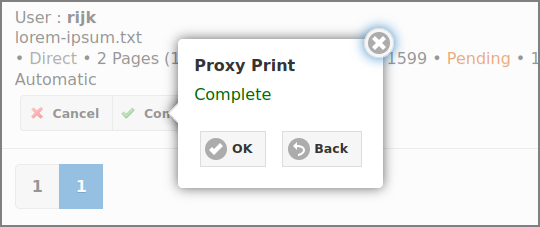
The buttons are shown in the Admin Web App for administrators that have
permission to edit accounts
if Configuration property
proxy-print.job-state.edit.enable = Y.