4.13. Log
After a tap on the Log button in the main menu this panel is shown. See Menu.
The Log shows Info, Warning or Error messages for application events.
Tip
The size of the Log can be limited by purging old log data after an automatic database backup. See Admin Web App: Options - Automatic Backups.
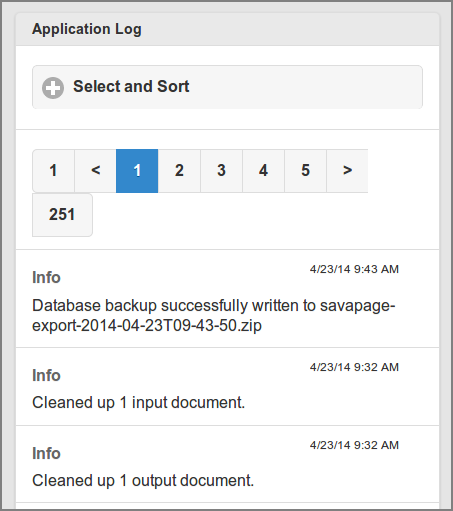
Admin Web App: Log - List
All events are listed by default, ordered by descending date.
The list can be traversed by tapping one of the buttons at the pager at the top or bottom of the page.
A different selection and sorting can be entered: see Admin Web App: Log - Select and Sort.
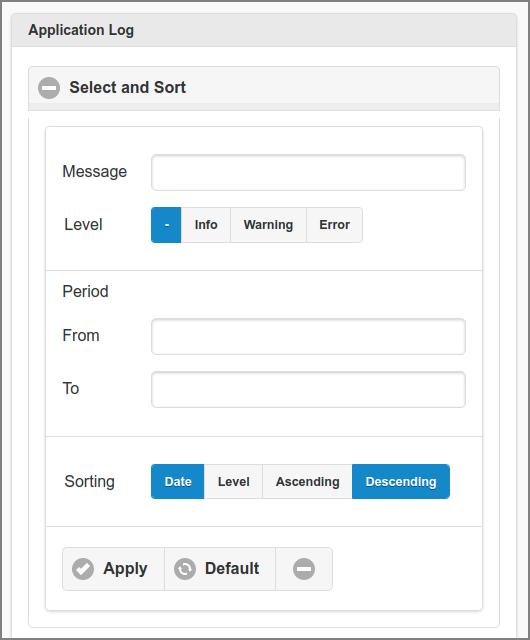
Admin Web App: Log - Select and Sort
Events can be selected by entering a fragment of the Message.
Select the message Level. The – button will select all levels.
Select the time Period by pushing the From and To labels or entry fields. See date picker dialog is shown at Admin Web App: Log - Select Date. Tap the x button after the date to clear it.
The list can be sorted Ascending or Descending on Date or Level.
Tap the Apply button to (re)display the list.
A tap on the Default button resets the selection and sort fields to their default values.
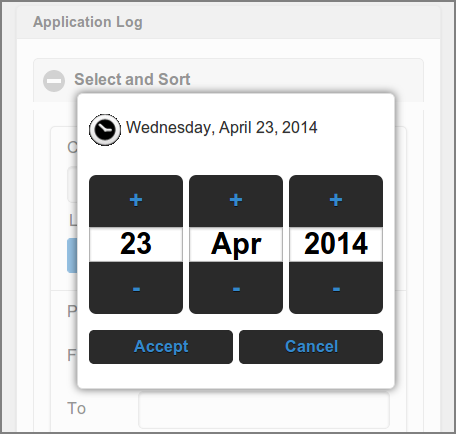
Admin Web App: Log - Select Date
User the + and – buttons to select the Month, Day and Year.
Push the Accept button to apply the date.
Push the Cancel button to ignore the date and return to the original setting.